WARDOGS Map Guide & Battlefield Strategy
Map awareness in WARDOGS is fundamentally different from traditional static FPS arenas. The game combines a massive 256 km² open-world island battlefield with a dynamically randomized 2x2 km Control Zone each match. While the 100-player objective fight concentrates in the active zone, the wider terrain provides critical staging corridors, vehicle supply routes, helicopter drop paths, and capturable radar towers. This guide covers how to read the tactical map, control key terrain, and navigate dynamic frontlines.
- Total Map Scale
- 256 km² Island Battlefield
- Active Combat Zone
- Randomized 2x2 km Area
- Scoring Rhythm
- 1 Point per 30-Second Tick
- Special Zones
- Shifting 2x Multiplier Hot Zone
256 km² Battlefield Scale vs. 2x2 km Active Control Zone
Rather than fighting across static, repetitive three-lane maps, WARDOGS matches take place on an enormous 256 km² landmass. In each match, the game randomly designates a 2x2 km Control Zone where the main 100-player three-faction clash occurs.
This procedural placement means no two matches play the same. A hillside village, industrial warehouse district, coastal harbor, or dense forest can become the focal point of the battle, forcing teams to constantly adapt their vehicle routes, sniper perches, and fortification plans.
Control Zone Scoring & Shifting Hot Zone Mechanics
The team with the most boots on the ground inside the 2x2 km Control Zone at each 30-second interval scores 1 point toward the 100-point victory threshold.
Periodically, a smaller Hot Zone activates within the Control Zone. Operatives inside the Hot Zone grant double capture weight (counting as 2 players toward the scoring tally) and earn double in-game cash. Controlling the approaches to the Hot Zone allows coordinated squads to swing scoring momentum decisively in their favor.
Logistics Corridors, Helicopter Drops & Forward Bases (FOBs)
Because the main faction bases are situated across the wider island, logistics and transport infrastructure dictate who controls the objective. Ground transport trucks follow primary road corridors to ferry heavy reinforcements, but are vulnerable to ambushes along tree-lined chokepoints.
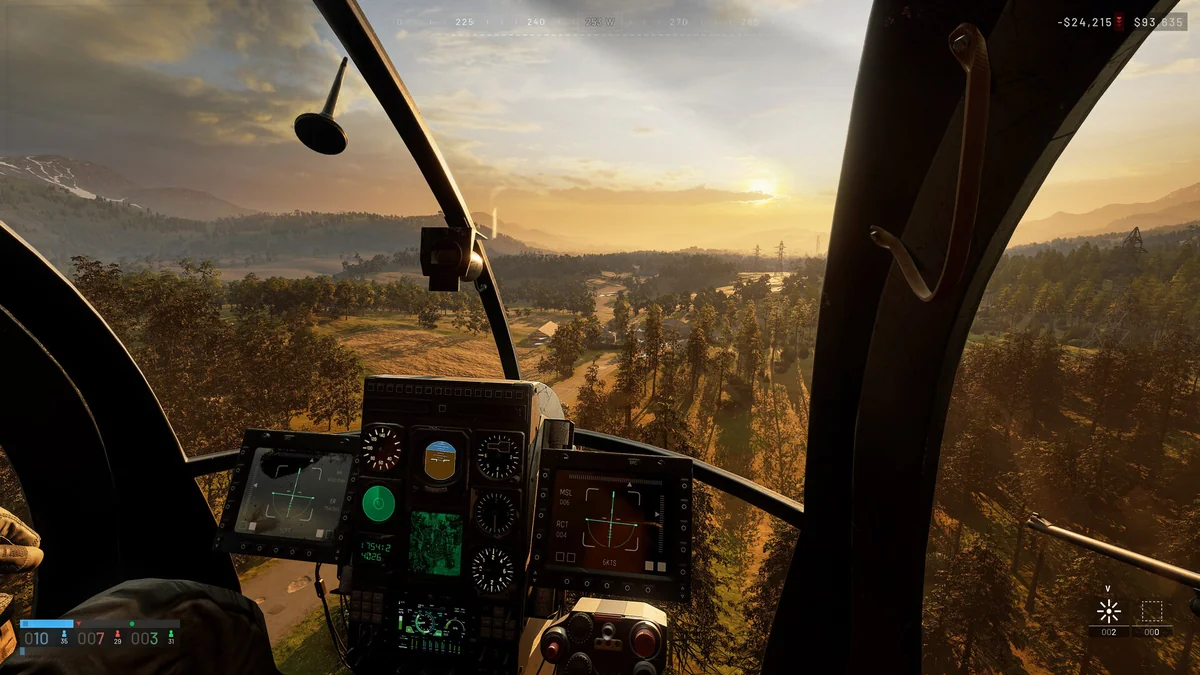
Rotary pilots use river valleys and low terrain to fly below radar and conduct hot helicopter insertions. Meanwhile, Combat Engineers can construct Forward Operating Bases (FOBs) with sandbag bunkers and vehicle repair stations just outside the hot combat boundary.
Capturing Radar Towers & Secondary Intel Objectives
Scattered across the map are strategic secondary installations such as Radar Towers and Communication Arrays. Capturing and holding these towers provides team-wide situational intelligence, highlighting enemy vehicle convoys and helicopter flight vectors on the tactical map.
Sending a fast recon fireteam to secure nearby radar arrays before assaulting the main Control Zone gives your faction an overwhelming tactical advantage.
Destructible Environments & Custom Fire Sightlines
Buildings, wooden fences, concrete walls, and watchtowers in WARDOGS are fully destructible. If an enemy squad is holed up inside a reinforced compound on the edge of the Hot Zone, heavy armor or RPG fire can collapse walls to eliminate their defensive cover.
Conversely, defending engineers can place heavy sandbag barricades, razor wire, and deployable shields to turn open rooms into formidable fortresses.
4 Strategic Questions to Ask on Every Deployment
- Where is the active 2x2 km zone relative to your base: Determine whether a fast helicopter flight or armored ground convoy is the optimal insertion method.
- Where are the other two factions entering from: Identify likely enemy approach vectors to set up devastating flanking crossfires.
- Is the Hot Zone currently contested: Check the timer and capture bars before committing a full squad push into high-risk areas.
- Are secondary radar towers secured: Ensure your team has active radar coverage to avoid being blind-sided by enemy armor.
Frequently Asked Questions
How big is the map in WARDOGS?
The total island battlefield is 256 km², inside of which a randomized 2x2 km Control Zone is designated for the 100-player match objective.
Does the Control Zone change location every match?
Yes. The 2x2 km objective area is procedurally randomized across the 256 km² map for each match, ensuring diverse terrain and battle flow.
What is the purpose of the map outside the 2x2 km zone?
The wider battlefield houses main base staging areas, vehicle motor pools, helicopter flight corridors, supply roads, and capturable radar towers.
What is a Hot Zone on the map?
A shifting sub-zone within the Control Zone where player presence counts double for scoring and combat/support actions reward double cash.
Can buildings on the map be destroyed?
Yes. WARDOGS features extensive building and cover destruction via explosives, rockets, tank shells, and heavy vehicle impacts.
Last updated: 2026-08-26